

How To Make Photos Blurry On Iphone
It doesn't matter if you use a smartphone or pro DSLR camera, one of the most common problems a photographer will face is unwanted blur. There are many reasons why blur in a photograph can occur even when there is no movement within the scene. While blur can be used intentionally to your creative advantage, it is also something that will simply ruin a photograph if you are not careful. Knowing what causes unwanted blur in a photography will allow you to minimise it more effectively.
Let's take a look at four ways that you can avoid taking blurry photos with your iPhone and some simple techniques to fix these issues.
Problem 1: Focused Background, Out Of Focus Subject
To understand this problem, you first need to understand how a smartphone camera focus works. Smartphones have a fixed aperture, which means you don't have much control over the depth of field. Generally, the smartphone has a wide focal area and by default, it will automatically focus on the most prominent area of the scene in front of you. However, even though smartphone camera technology is getting better at identifying the key subjects in a scene, by relying on this auto focus feature you are leaving the outcome of your photo to chance. In the example photo below illustrates how the background of my photo was in focus while my intended subject was slightly out of focus.

How To Fix This: Lock Your Focus
A simple remedy to this problem is to always lock the focus onto your intended subject. Different camera apps will work in different ways but generally to lock the focus all you need to do is tap and hold the screen where you want to focus.
On an iPhone using the native camera app the focus/exposure square will flash twice and a yellow 'AE/AF Lock' indicator will appear at the top of the screen. Now your focus is locked and will not re-adjust itself as you move the camera around.
TOP TIP: If you find that locking the focus onto your subject causes the photo to become under or over exposed. You can adjust the exposure levels using the native camera app by dragging your finger up or down on the iPhone screen to raise or lower the photo's exposure. Always aim to expose for the highlights. Different camera apps will have different ways of doing this. Some apps such as ProCamera or Camera+ will allow you to split the focus and exposure points so they can be placed in different areas of your scene.
Problem 2: Camera Shake
Camera shake is another problem that photographers can face if they are not careful. This is caused by the camera being moved whilst the photo is being taken. The odds of this happening are increased if a shutter speed is being used due to conditions such as low lighting. The result will almost certainly cause the photograph to be blurred.

How To Fix This: Hold The iPhone Firmly And Steady
To remedy this problem, it is vitally important that you hold the iPhone camera steady at the point of taking the photo. Alternatively, try placing your elbows on a firm surface or holding your arms close into your body. This will provide more support and help reduce the potential for any unwanted camera shake. Another alternative is to use a tripod which will ensure your iPhone is kept completely still. There are many small and portable tripods available for the iPhone so you don't necessarily have to invest in a big and bulky pro tripod.
Problem 3: Blur Caused By Low Lighting
Taking photos in low light conditions, especially when combined with a shaky hand or moving subject, is a sure-fire way of taking a photo that features unwanted blur. By its nature, low light conditions will require the cameras shutter to remain open for a longer period of time in order to capture as much light and detail as possible. If, during this exposure period, something within the frame moves, then it will result in a blur.
The other consideration to bear in mind when shooting in low light conditions is something called noise, which means you will see a notable increase in the amount of grain in your photo. This is another factor that will contribute to a reduction in image quality.
While improvements are being made in mobile camera technology and optical image stabilization in relation to how the iPhone handles low light situations, it is still important that care is taken when shooting in low light.

How to Fix this: Look For A Well Lit Location
To minimise the chances of taking a blurry photo in low lighting, firstly try to position your subject in a well-lit location or near to a window where you can take advantage of natural light. You will get much better results than if you were shooting in a dimly lit corner of a dark room.
The second thing you can do is to once again, hold the camera steady or position it on a firm surface in order to avoid camera shake.
Finally, you could also consider using a tripod to hold the camera perfectly still. This is essential if you are trying to shoot a long exposure photograph to capture light trails or movement over time.
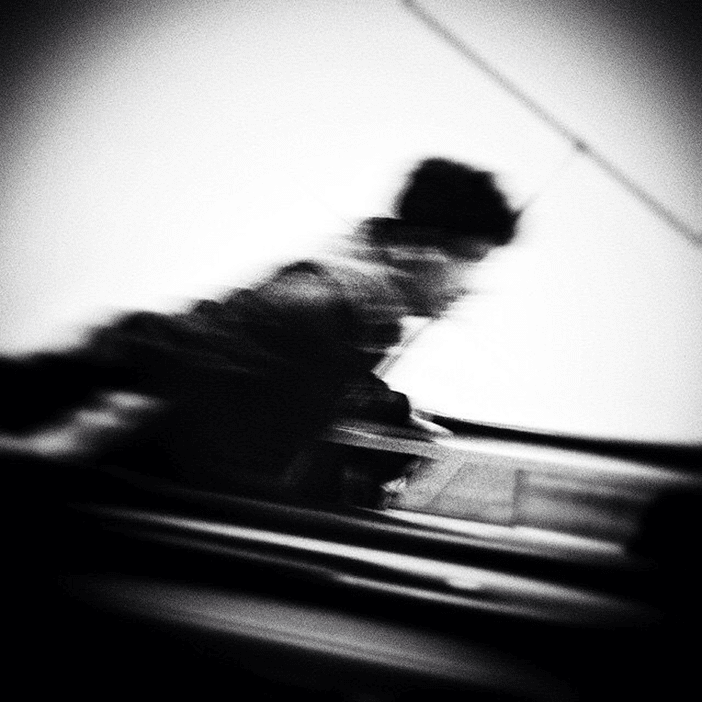
Pro Tip: Try using the app, Cortex Cam. This little app is excellent for taking photos in low light conditions. It works by recording the scene for a short period of time and then mapping the results into one image that is crisper in quality than you could take with other apps in low light, hand held situations.

Handheld night-time photo using Cortex Cam
Problem 4: Moving Subjects
At some point, you will find yourself shooting a moving object, whether that be children playing, people or cars passing by or a sporting event. In such situations, there is little you can do to control the subject. However, blur can add to the effect and give a feeling of movement and energy. So, from that point of view it should be embraced. However, there are a couple of things you can do to reduce the amount of unwanted blur in these sorts of photos.

How to Fix This: Use Burst Mode & A Steady Hand
Firstly, making sure you hold your camera as still as possible and have good lighting are essential in order to have the best possible chance of capturing a crisp image.
Secondly, consider using burst mode to capture a rapid sequence of images (up to 10 per second with the iPhone). This will give you a much greater chance of capturing the subject in a decisive moment of stillness. To use burst mode, simply keep your finger pressed on the shutter release button of the native camera app.
Another technique you could try is to pan with your subject as it passes by. This is a commonly used technique that helps convey speed, movement and energy. The background will be blurred but the subject should hopefully be captured in a state of stillness.
Ways To Use Blur To Your Advantage
Blur doesn't have to be something that is seen to ruin a photo, it can be something to be embraced. Let's look a few ways you can use it to your creative advantage.
Use Blur Creatively
By deliberately using blur in your photography, you can create some amazing abstract effects. Try shooting fast and from the hip to capture people as they pass by in the street.
Alternatively, experiment with an app like SlowShutter, which is a great app to capturing movement over time. Slow shutter offers different settings such as motion blur, light trial and low light. The results can be quite abstract.

Long Exposure
You can also use blur to create some stunning time lapse effects. Try mounting your iPhone on a tripod and use an app like Average Cam Pro to capture a landscape scene over a long period of time. By including elements such as water and clouds you can create a photo that will grab people's attention.

Depth of Field
Blur can also be used to frame and isolate your subject. iPhone 7 Plus users can take full advantage of the new Portrait mode in the native camera app. Portrait mode makes full use of the dual lenses of the iPhone and maps the images together to create a depth of field effect. This is perfect for portrait photography.

Final Thoughts
Hopefully, you now have a better idea of ways that you can avoid taking blurry photos with your iPhone as well as ways to embrace blur so your iPhone photography can be more creative.
One final piece of advice I would like to offer is to always check your photos closely before moving on. Very often you will review your photos later, only to discover they have been ruined by simple things such as incorrect focusing, camera shake, low lighting or movement. Very often you won't be able to go back and re-shoot a scene, especially if it is a special occasion such as a wedding or family get together.
For this reason, I would always advise you to take as many photos as you can. The first photo you take is not likely to be your best one. By taking more photos you have a much better chance of capturing that decisive moment and a perfect shot.
Save
Save
Save
Save
Save
How To Make Photos Blurry On Iphone
Source: https://www.mobiography.net/tutorials/fix-blurry-iphone-photos/
Posted by: yoderhadegre.blogspot.com
0 Response to "How To Make Photos Blurry On Iphone"
Post a Comment